


Before starting development, make sure that nanoCAD is installed on your computer. You can download it from the official website:
After installation, you need to register in the nanoCAD Developer Club:
https://developer.nanocad.com/
The registration process takes less than 10 minutes and consists of three steps.
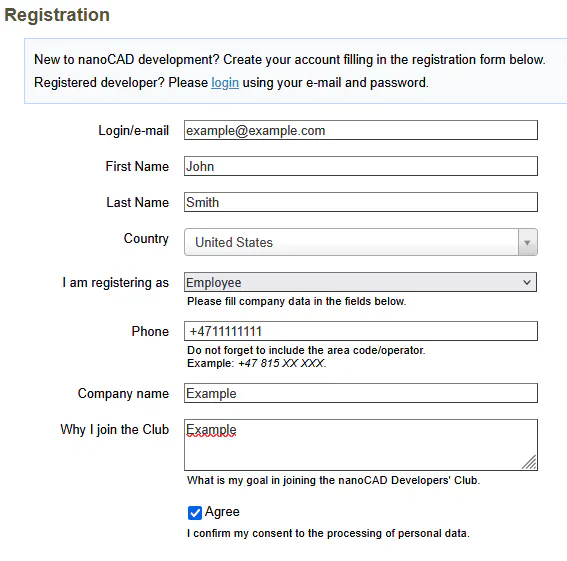
Fill in the registration form and click Continue.

After submitting the form, you will receive an email from [email protected].
Open the email and follow the link: To Continue the registration.
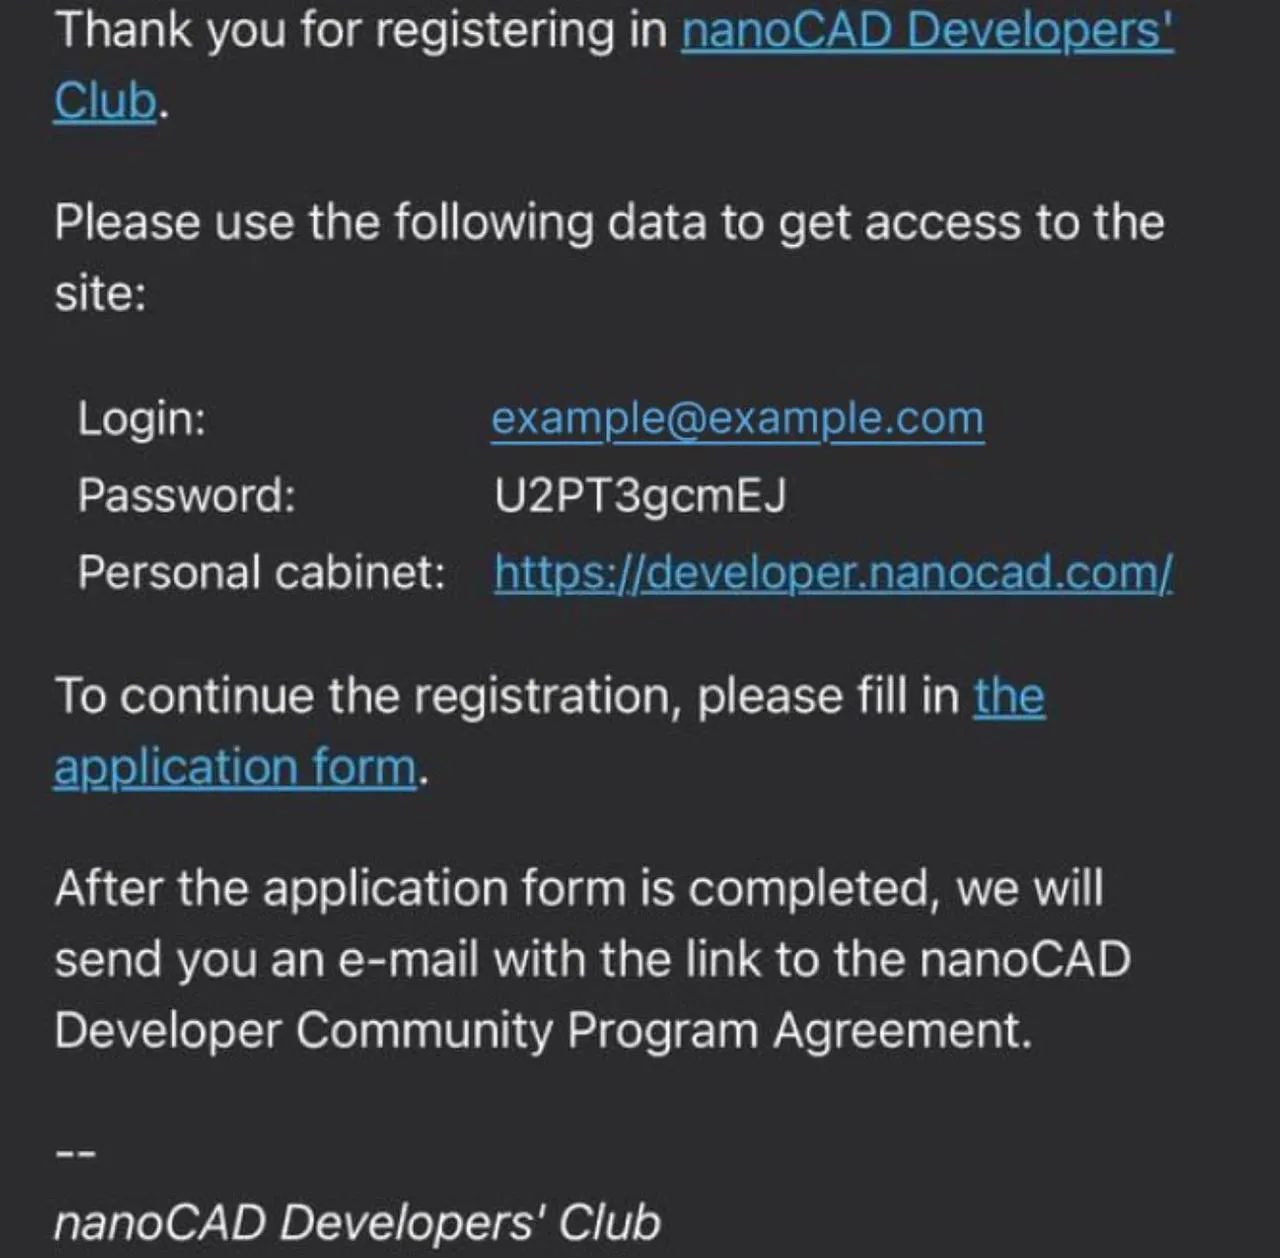
After following the link, an extended registration form will open Fill in all required fields and click Save.
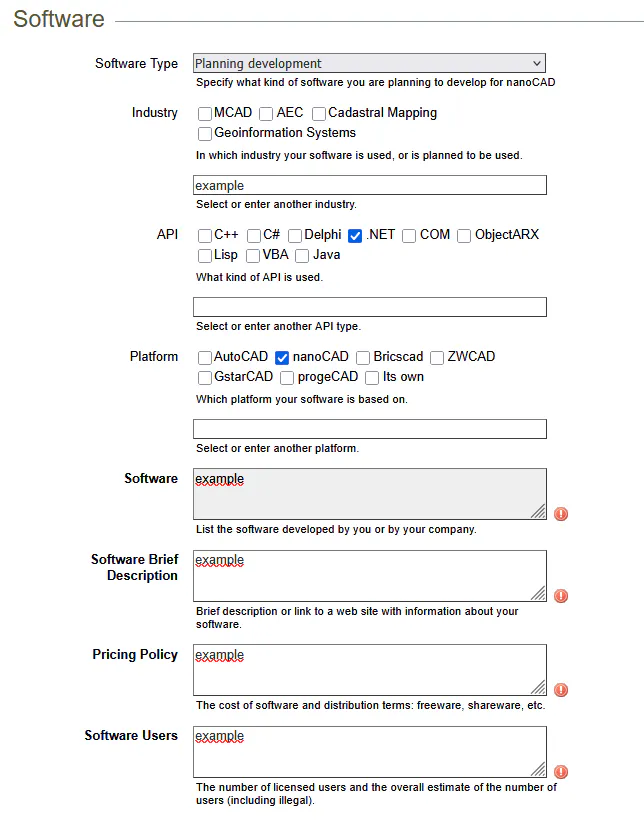
After saving the registration form, you need to wait for an email with developer agreements.
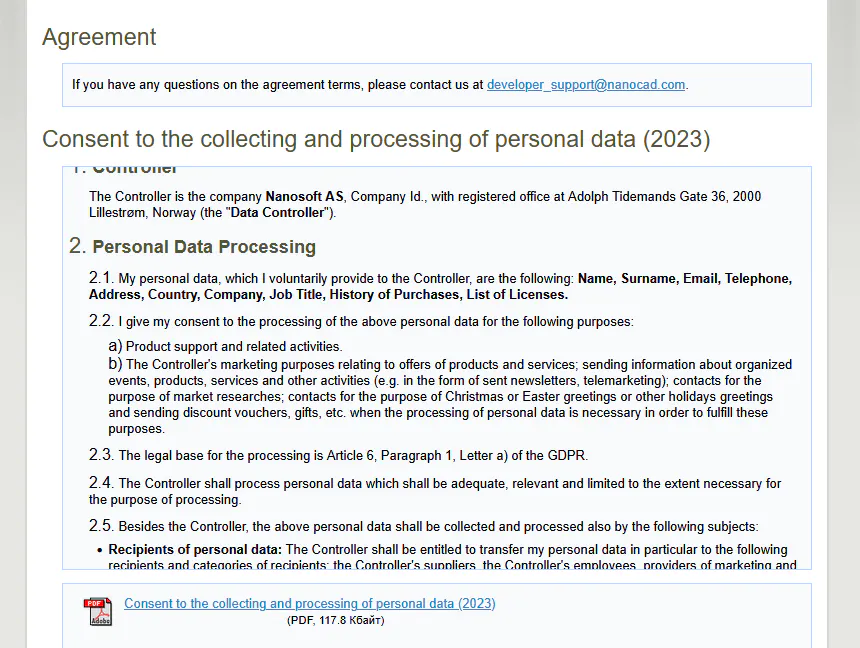
Review the terms of use, enable both confirmation checkboxes, and sign the agreement.
After successful signing, you will receive a registration confirmation email.
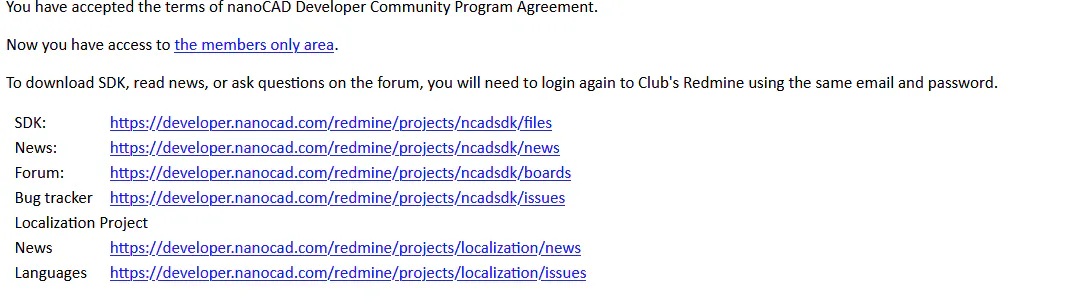
After activating the account, the Download section becomes available.
Download the NCadSDK archive corresponding to the installed nanoCAD version, then extract it to a convenient location.
For further development, Microsoft Visual Studio 2012 or a newer version is required.
The following instructions are based on nanoCAD x64 26.0.
Go to the nanoCAD installation directory:
C:\Program Files\Nanosoft AS\nanoCAD x64 26.0Create an SDK directory and copy all files from the previously unpacked NCadSDK archive into it.
Launch Visual Studio and create a new project.
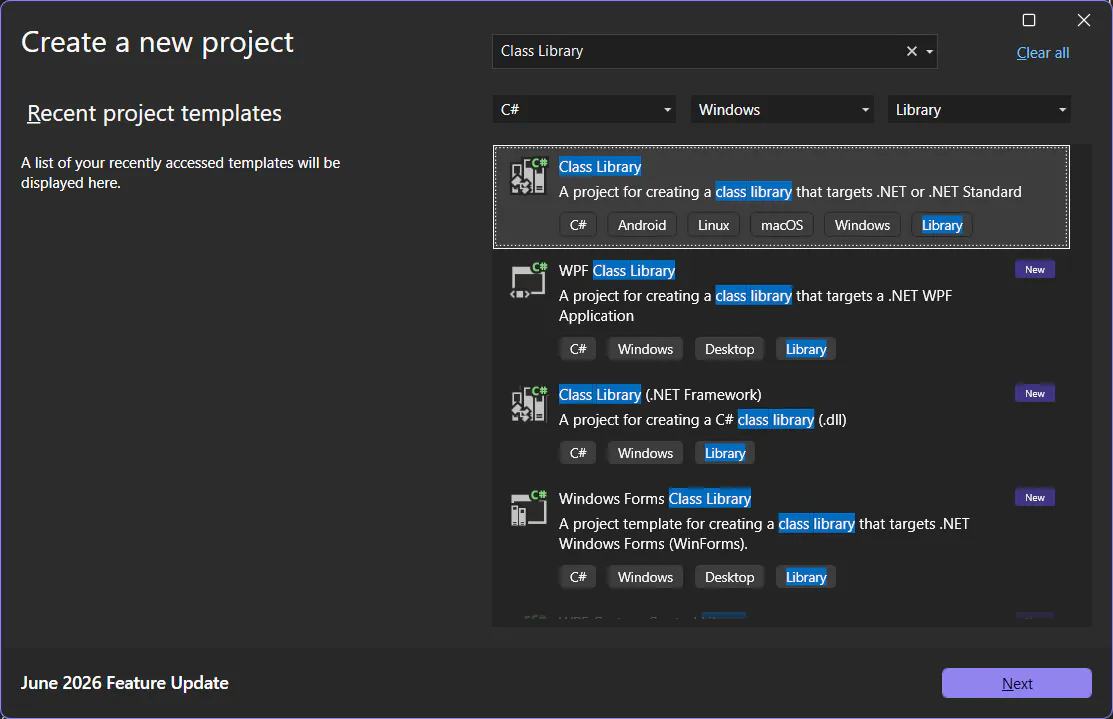
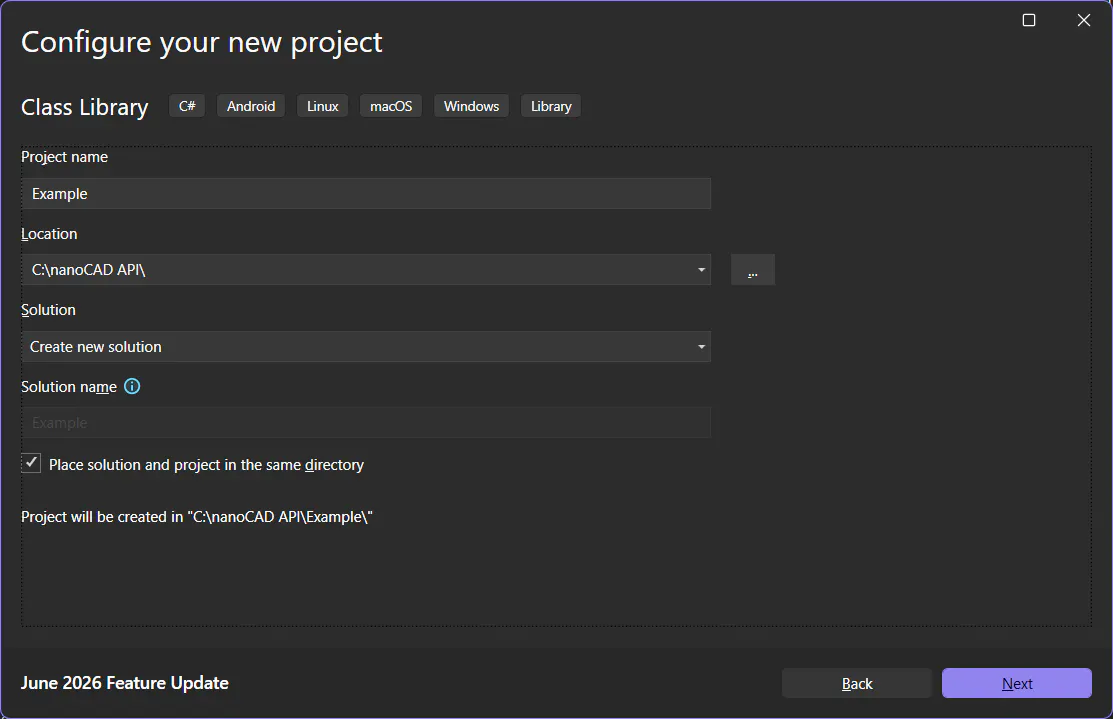
Select Class Library as the project type, specify the project name and location. Leave the parameter "Place solution and project in the same directory" enabled.
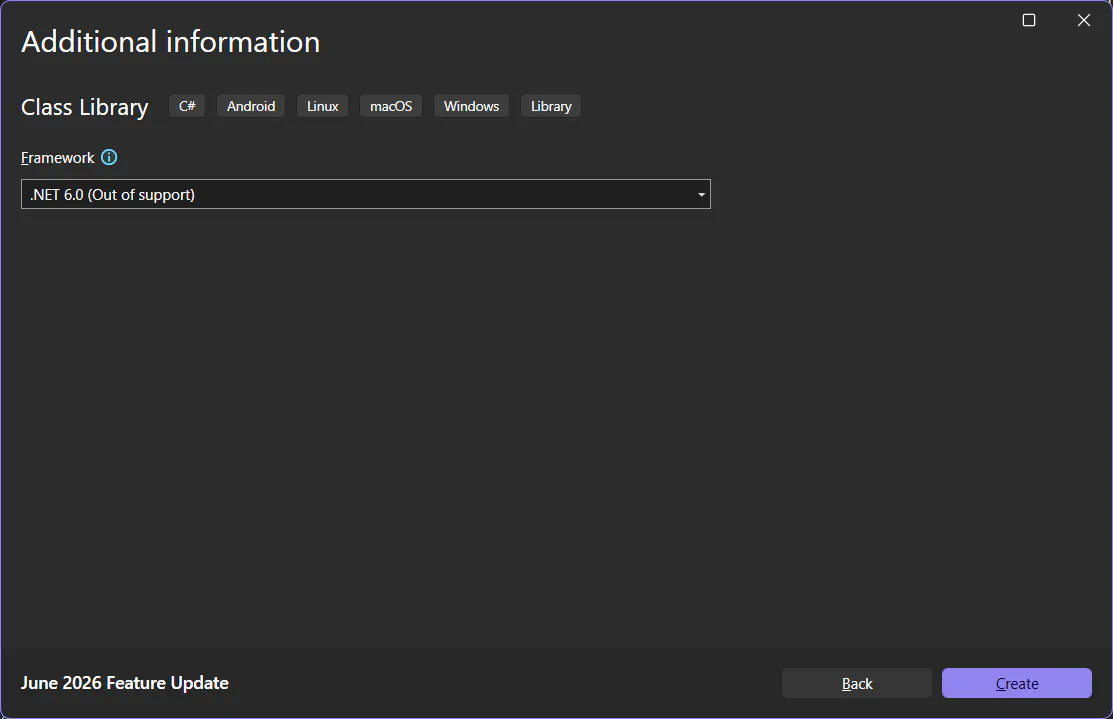
When selecting the target framework, choose .NET 6.0.
After creating the project, Visual Studio automatically creates the first class file. This file will contain the implementation of our first module "Hello, NanoCAD!".
The initial file structure looks as follows:
namespace Example
{
    public class Class1
    {

    }
}Before starting development, you need to configure the project.
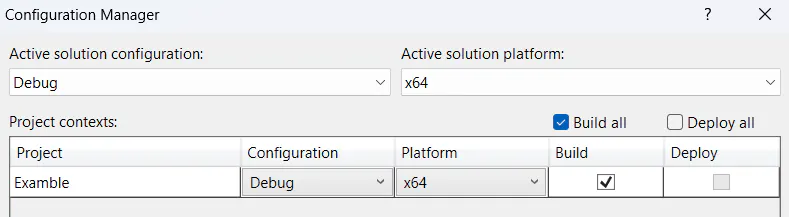
Open: Build → Configuration Manager.
In the list Active solution platform list, create a new x64 platform.
Leave the Active solution configuration set to Debug. Before the final project build, it is recommended to switch to Release.
Now you need to add the SDK libraries to the project.
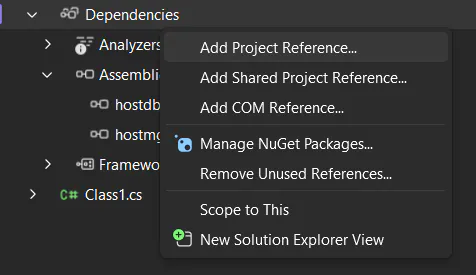
Open the context menu of the Dependencies node and select Add Project Reference → Browse.
Add the Following Libraries:
C:\Program Files\Nanosoft AS\nanoCAD x64 26.0\SDK\include-x64\hostdbmgd.dll
C:\Program Files\Nanosoft AS\nanoCAD x64 26.0\SDK\include-x64\hostmgd.dll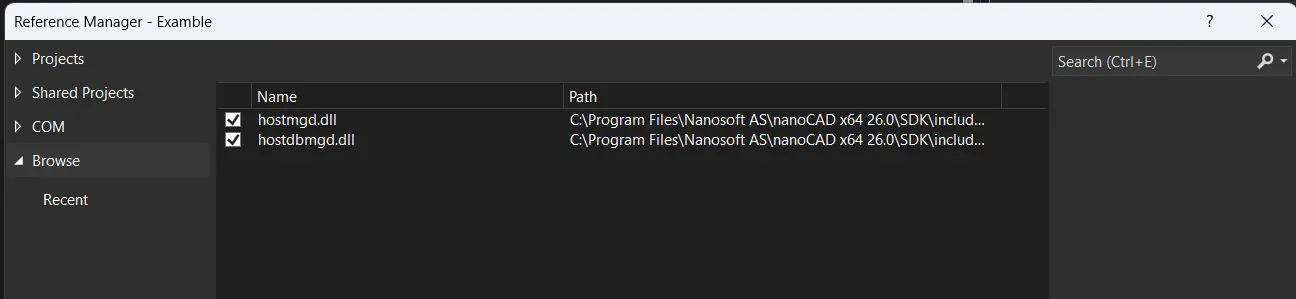
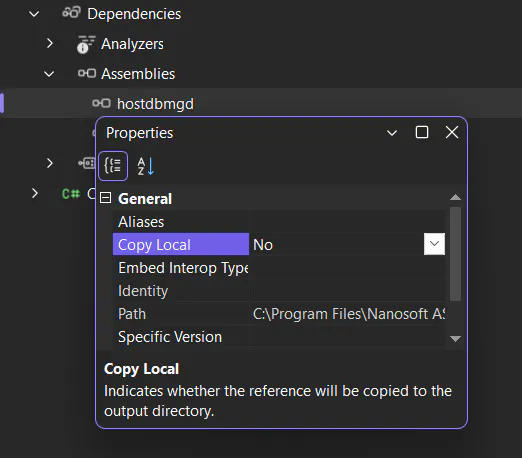
After that, open the properties of each library and set Copy Local = No.
Add the following namespaces at the beginning of the file:
using Teigha.Runtime;
using HostMgd.EditorInput;Now you can start developing your first module.
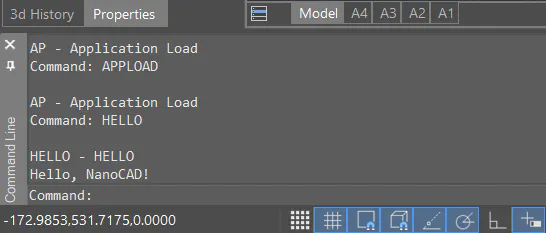
The example below shows a simple command that outputs the message Hello, NanoCAD! in the nanoCAD Command Line when the command HELLO is entered.
using Teigha.Runtime;
using HostMgd.EditorInput;

namespace Example
{
    public class Commands
    {
        [CommandMethod("HELLO")]

        public void Hello()
        {
            Editor ed = HostMgd.ApplicationServices.Application.DocumentManager.MdiActiveDocument.Editor;

            ed.WriteMessage("\nHello, NanoCAD!");
        }
    }
}To build the project, open Build → Build Solution.

After successful compilation, a bin directory containing the compiled DLL library will be created in the project folder.
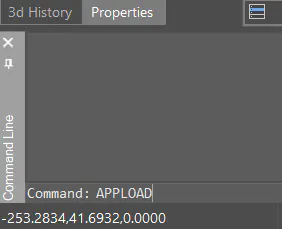
Example\bin\x64\Debug\net6.0\Example.dllLaunch nanoCAD and run the command APPLOAD.
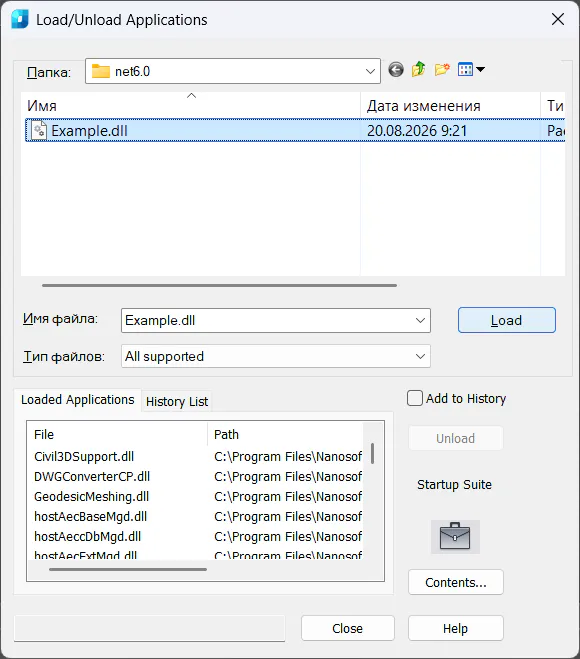
In the dialog box, select the created DLL file and click LOAD.
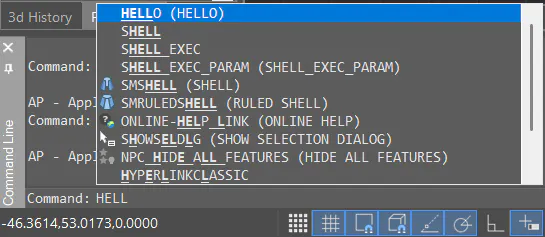
After successful loading, enter the following command in the command line:
🎉 Congratulations, you have created your first app for nanoCAD! 🎉

