


This tutorial demonstrates how to automate commands execution using the COMMAND function and AutoLISP programming in nanoCAD Platform.
Have you ever noticed what appears in NanoCAD Platforms Command Line when you’re working on your drawing? If you operate with Users Graphical Interface (GUI), then after you click on the icon you're executing a command, this command also appears in Command Line.
For example, when I want to create new document, I click icon on the top left corner of the Platform:
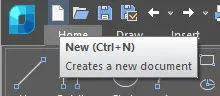
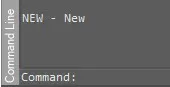
In the Command Line will appear a name of executed command:
Next example is how to create a circle using GUI:
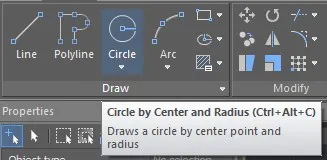
This time Platform will ask from you some clarification, like:
where will be the Center Point
what will be the radius of this circle:
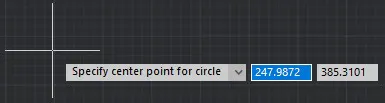
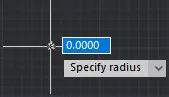
In Command Line you’ll see this dialog:

You don’t have to use GUI to execute most of the commands. If you see command appearing in Command Line while executing it from GUI, then you can call this command using same name directly in Command Line.
Let’s create another circle on the same position but with different radius and using only Command Line.
In Command Line call command: CIRCLE
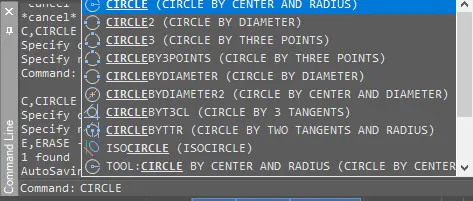
Next - Command Line will ask you to define center point. Notice, that SPACE in Command Line is equal to ENTER, so you can not define center point like: 0,0 0,0. Instead you need to define it like: 0.0, 0.0

After this Platform asks you to define radius:

And this time I drew circle using only Command Line:
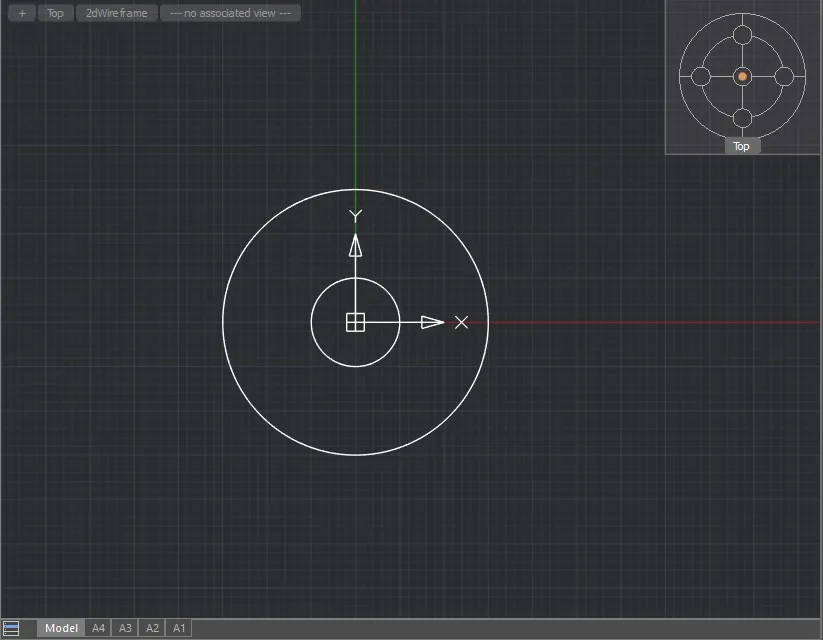
The thing, that all these actions might be executed using only Command Line allows to automate them with AutoLISP and standard COMMAND function.
COMMAND function syntax:
(COMMAND “parameter_1” “parameter_2” <…> “parameter_N”)This function imitates users input in Command Line. Parameters are the same, as you need to input manually on request from Command Line. Use double quotas to define parameters. Parameters are the same, as was requested from you in Command line during the manual commands execution.
As this is a function, it has a return value, and it is: nil
Let’s write simple script with COMMAND function to repeat previous actions fully automatically.
Use Script Editor. You can find it in Manage -> Applications -> Script Editor
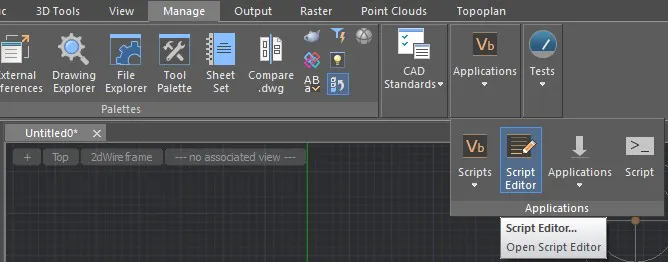
Or with simple calling from Command Line: SCRIPTED
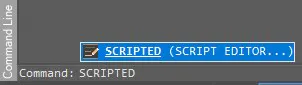
In appeared Script Editor function panel I can write my script:
(command "NEW")
(command "CIRCLE" "0.0,0.0" "50")
(command "CIRCLE" "0.0,0.0" "150")
Rule is simple:
Use COMMAND to define that you’re going to execute standard nanoCAD Platforms command, then use double quotas to define same parameters, you defined manually in Command Line, in this case for CIRCLE it’d be “Center Point” and “Radius”.
Remember, that using SPACE you can define ENTER, for example: (command “ “) this will be the same, as it you just click ENTER and by default this call last executed command.
To execute my script, first I need to save it as a file:
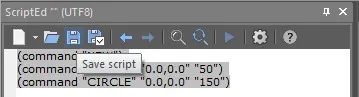
Saved it as “new_circle.lsp”
Now I can run script from Script Editor using “Run script” button:
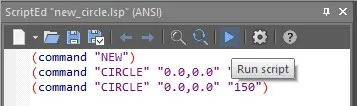
This will create new document and draw two circles with center point 0.0 0.0 where first is X-position and second is Y-position. One circle has radius 50 and another 150.
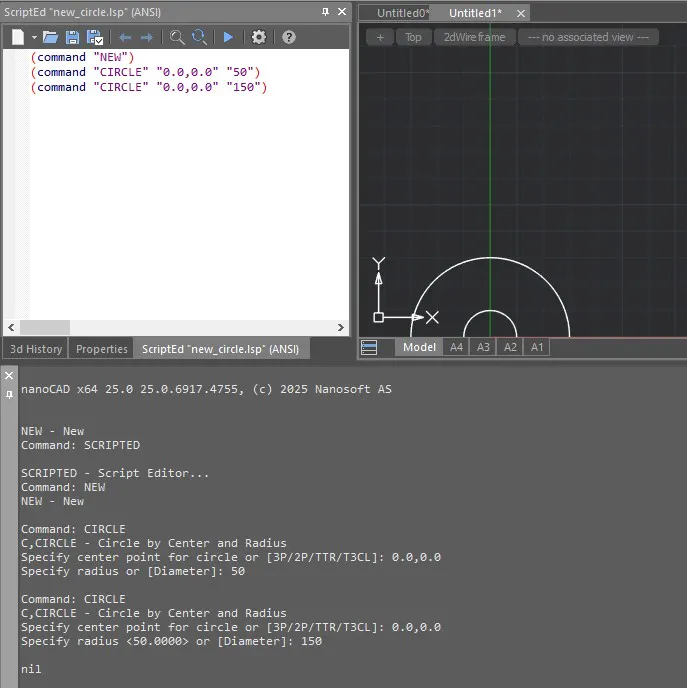
This way you can use COMMAND to automate your routine operations.
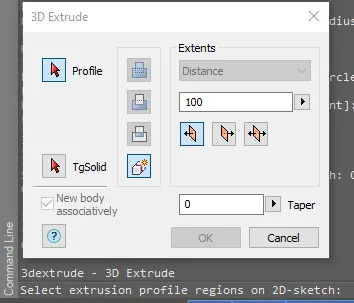
The only thing – if command require to use dialog window, then you can’t fully automate the process with COMMAND function, as you have to manually select options in this commands dialog window.
Example: you want to make 3D Extrude. No matter where from you call command to do this, from GUI or Command Line, you will need to define parameters of this process in dialog window “3D Extrude”:
This part described how you can simply automate command executions using AutoLISP, COMMAND function and Command Line.
Next article on basic autoLISP functions in nanoCAD Platform you can find here:
If you’re interested on how to run and execute scripts in nanoCAD Platform, you can read it in this article: How to Load and Run LISP Scripts in nanoCAD Platform


